---
title: "配置 arthas 实现远程线上 debug"
description: "本地配置arthas 有多种启动方式:java agent 像 skywalking 一样as.sh 利用"
date: 2021-08-03T05:47:40Z
canonical: https://xiaobox.github.io/p/2021-08-03-pei-zhi-arthas-shi-xian-yuan-cheng-xian-shang-debug/
author: 小盒子
categories: ["后端"]
tags: ["Java", "Spring", "Agent", "网络"]
source: https://mp.weixin.qq.com/s/-fZJr5KlAFzTsYmFCTg0hg
license: CC BY-NC-SA 4.0
license_url: https://creativecommons.org/licenses/by-nc-sa/4.0/
---
# 配置 arthas 实现远程线上 debug
## 本地配置
arthas 有多种启动方式:
- java agent 像 skywalking 一样
- as.sh 利用 arthas 的 shell 启动 或者 java -jar 启动
- sprintboot starter 集成到应用中启动
我们采用最方便的把 arthas 集成到 springboot-starter 的应用中启动
## 加入相关依赖
```html
com.taobao.arthas
arthas-spring-boot-starter
3.4.8
runtime
org.springframework.boot
spring-boot-starter-actuator
org.springframework.boot
spring-boot-starter-test
test
org.junit.vintage
junit-vintage-engine
```
## 修改 application.yml 配置文件
```yaml
# arthas tunnel server配置
arthas:
agent-id: arthasDemo
tunnel-server: ws://47.75.156.201:7777/ws
# 监控配置
management:
endpoints:
web:
exposure:
include: '*'
endpoint:
health:
show-details: always
```
## 启动
本地访问 http://localhost:8080/actuator/arthas 查看 arthas 配置信息
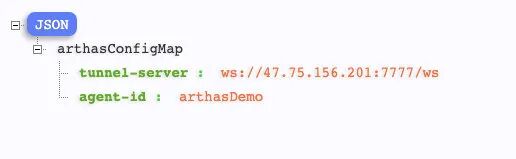
其他配置可以参考:https://arthas.aliyun.com/doc/arthas-properties.html
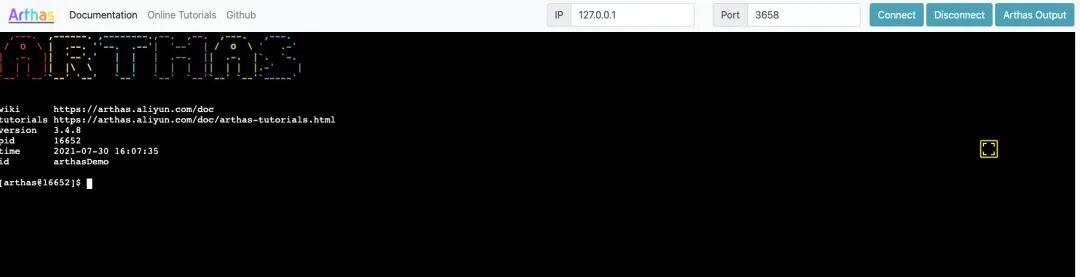
启动项目后,然后在浏览器中输入 http://localhost:3658 地址(web console)。显示如下界面,就代表已经设置成功了。
## Arthas Tunnel Server
通过 Arthas Tunnel Server/Client 来远程管理/连接多个 Agent。
### 部署 Tunnel Server
下载 jar 包 https://github.com/alibaba/arthas/releases
```
## Arthas tunnel server 是一个 spring boot fat jar应用
## 直接java -jar启动:
java -jar arthas-tunnel-server.jar
```
默认情况下,arthas tunnel server 的 web 端口是 8080,arthas agent 连接的端口是 7777 也可以修改端口,比如 `java-jar arthas-tunnel-server.jar --server.port=8082`
### 远程连接管理多个 Agent
部署起来后,agent 的配置就可以生效了,比如
```
arthas:
# telnetPort: -1
# httpPort: -1
tunnel-server: ws://127.0.0.1:7777/ws
app-name: arthasDemo
```
此时打开 Tunnel Server http://127.0.0.1:8082/ 是空白的
需要 AgentId, 可以通过 http://127.0.0.1:8082/apps.html 打开连接上的应用,再点击应用名称便可以看到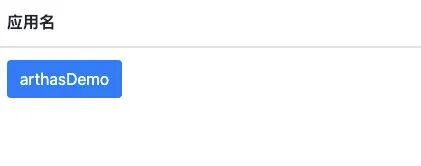

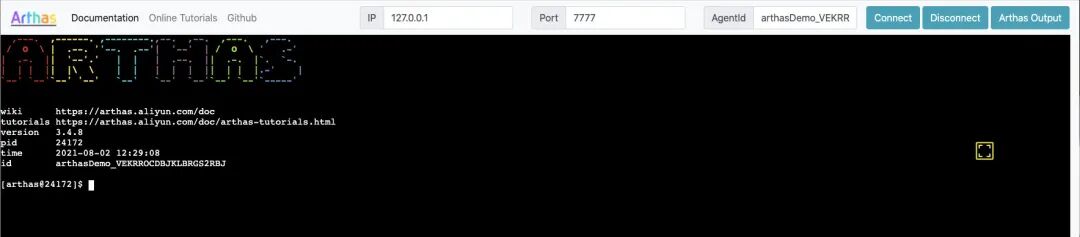
点击按钮,或输入 AgentId 便可连接上指定的 agent 了
## 参考:
- https://arthas.aliyun.com/